

Hopefully you enjoyed the first part of the re-organising of my Family History photo collection and if you missed Part 1 it can be found Here
So all the research, planning and purchasing of equipment has been completed and we are now left with a large pile of photographs on the table! These need sorting into four groups, one for each of my grandparents, Chiddicks, Wootton, Day and Barnes. Any photos of families that link into these main lines are filed with the main family group.
Prior to this, I have also set up and Individual Excel Spreadsheet for each of the four names listed above, with the following sub-headings;
Photo ID Number: e.g Chiddicks-FWG-1956-0001
Name of individuals in the picture (L-R)
Date or appx. Date if known
Occasion
So a typical data entry could look like this;
Chiddicks-FWG-1956-0001 Frank William George Chiddicks 1956 Army National Service
You might wish to use another format for the documentation stage, I know that many Family History Researchers are keen ‘Evernote’ users, but whatever system you choose, as long as it works for you, that’s the key part.
The actual hardest part of the whole process so far, is coming up with a logical ‘naming pattern’ to the photos themselves and this appears to be a common theme, amongst all the material that I have read so far. The numerical order is straight forward;
Chiddicks-0001, Day-0001, Wootton-0001, Barnes-0001, this gives each section the capacity for 1000 pictures which will hopefully be enough. The hard part is finding a system that give you an adequate description, but differentiates between individuals.
I came up with this;
Chiddicks-FWG-1956-0001 (Surname-initials-year or appx. year if known-number)
This way all the pictures of my Father for example (shown in the example above) are grouped together. You have the options then within your database to sort either alphabetically, or numerically.
There are obvious issues when there are multiple people of different families within the same picture, no easy solution to this that I can see, apart from;
Chiddicks-Rainbird-1948-0027 as an example.
At the moment the numbering system is in it’s infancy and it’s still early enough in my project, to allow me to tweak this, or redo it if necessary, so if anybody has any better solutions feel free to let me know! Whatever system you adopt, it has to work and be logical to you and nobody else! That’s the key bit!
I have noticed because of the intricacies and difficulties with a numbering system, that most online blogs actually avoid the subject completely, hence why I have tried to explain in detail what I have done. Part 3 will show all this in action.
Again prior to pressing the button on my first scan, I have set myself up a Flickr account as a way of sharing my photos online and also as another back up and storage medium and of course to use as ‘Cousin Bait’. I chose Flickr because it has the ability to upload large image files and of course it’s free! Again if you already have similar accounts with other companies, use whatever you feel most comfortable with.
I then looked at how I was actually going to scan, how I was going to store the images and where I intended to store and upload them.
I rapidly learnt my TIFF from my GIFF and my JPEG, I am by no means an expert, far from it, but by reading and learning, I found out that a TIFF format offers the best quality, resolution and more importantly is a ‘lossless’ way of storing images. I won’t go into all the specifics of the differences between the formats, have a google you will soon learn why TIFF is the best option. Have added a quick link Here
Sadly I’m not ‘Techy’ enough to explain all the differences myself, but I’m smart enough to go with what fellow Genealogist Amberly Black (@genealogygirl_) recommends!
See Amberly Black’s blog below
Saving Precious Memories, One Photo at a Time – How I Do It
So I am all set to go and work with a basic requirement of a scan of 600 dpi and saving as a TIFF file. One additional but critical point, which I have taken straight from Amberly’s page is;
“If you scan at a higher dpi as a TIFF and then do a ‘save as’ into a jpeg, the jpeg will look better than if you scan as a jpeg in the first place.”
My scanning process will therefore be a 600 dpi scan saved as a TIFF file as mentioned above, but this will then also be saved as a JPEG at the same time.
With regards storage, I mulled over the options between online, cloud, HDD, flash drive etc, the options are almost endless.
I ended up going for the option of both a cloud storage, (my scanner can scan directly into there), plus a HDD back up (already had that for my Family Tree), so it made sense to use that, plus the added bonus of the Flickr account offers additional back up.
I did contemplate also loading directly into my Family Tree Maker software directly and also to Ancestry, but have chosen to be selective with what I add to my actual Family Tree and will do this at a later date. Although the Photographs and Family Tree are connected, this is solely about the archiving and storage of the entire photo collection.
We’re almost there………..
The next requirement is for a clear and clean workspace, sounds obvious I know, but it makes the whole process that much simpler, also ensure that your flatbed scanner or scanning device has a clean glass, it would be a shame to go to all this effort only to end up with smudged or marked photos.
(Clean Workspace)
So I have my Archival approved pen for writing the names on my Archive approved labels, ready to attach on my Archive sleeves, plus my pencil is ready for writing and transferring the details to the back of each image.
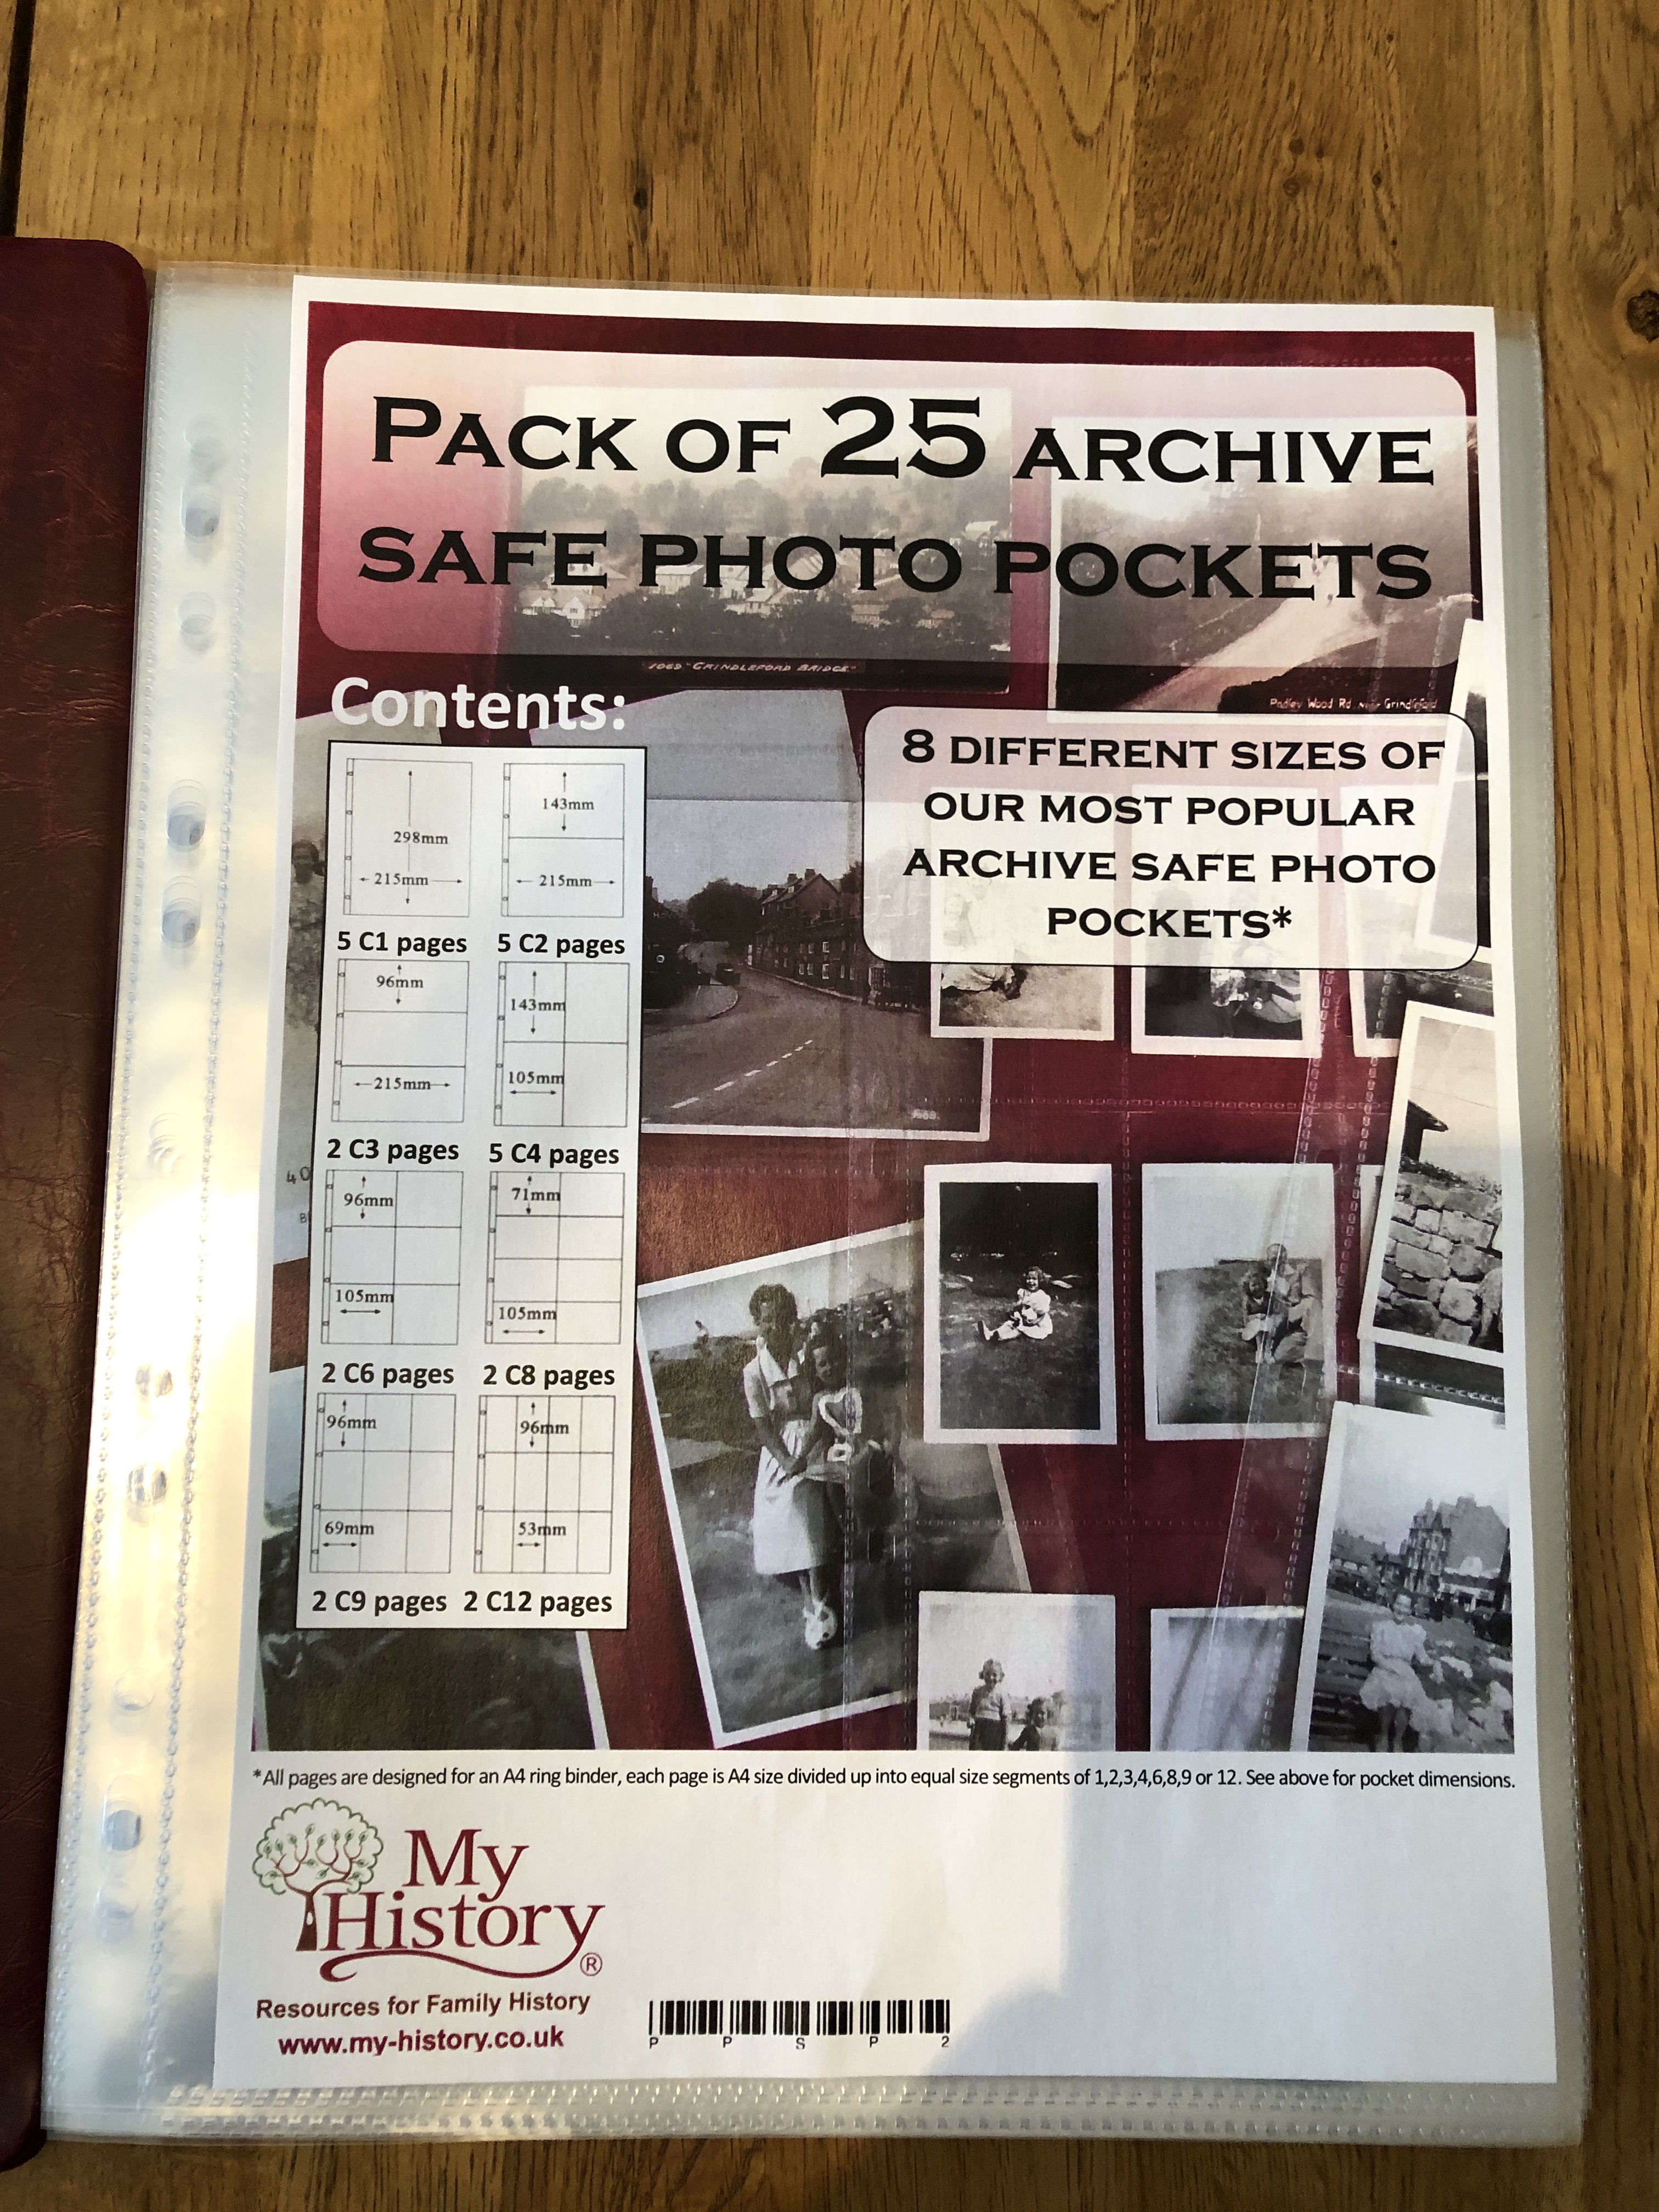
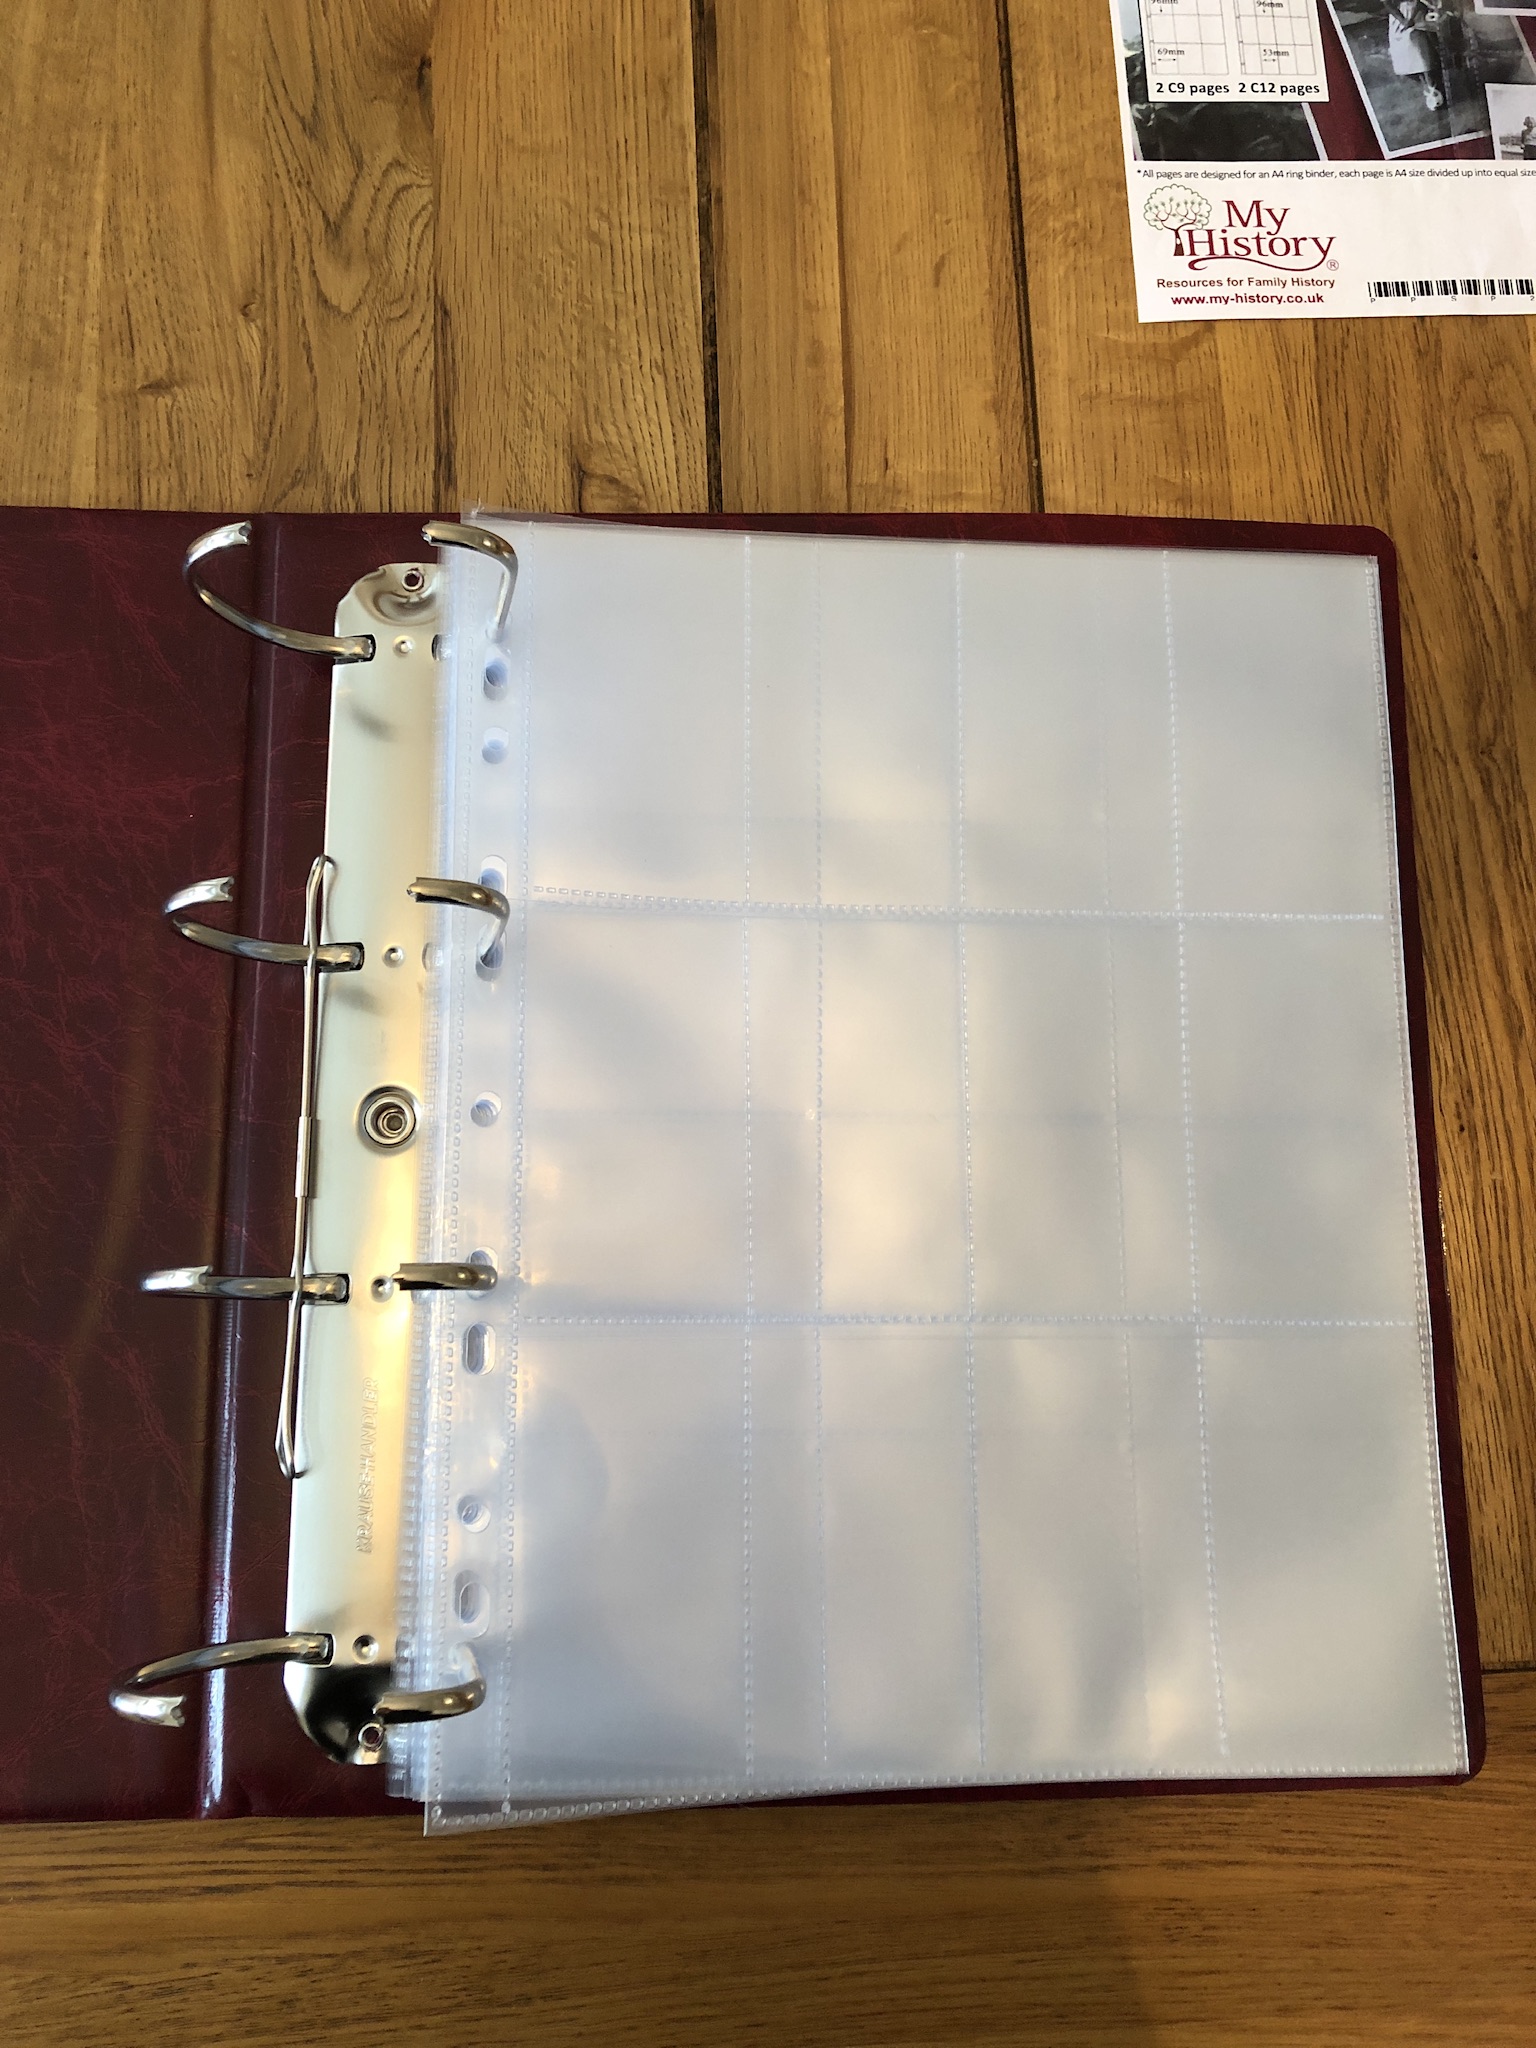
(Archival Wallets)
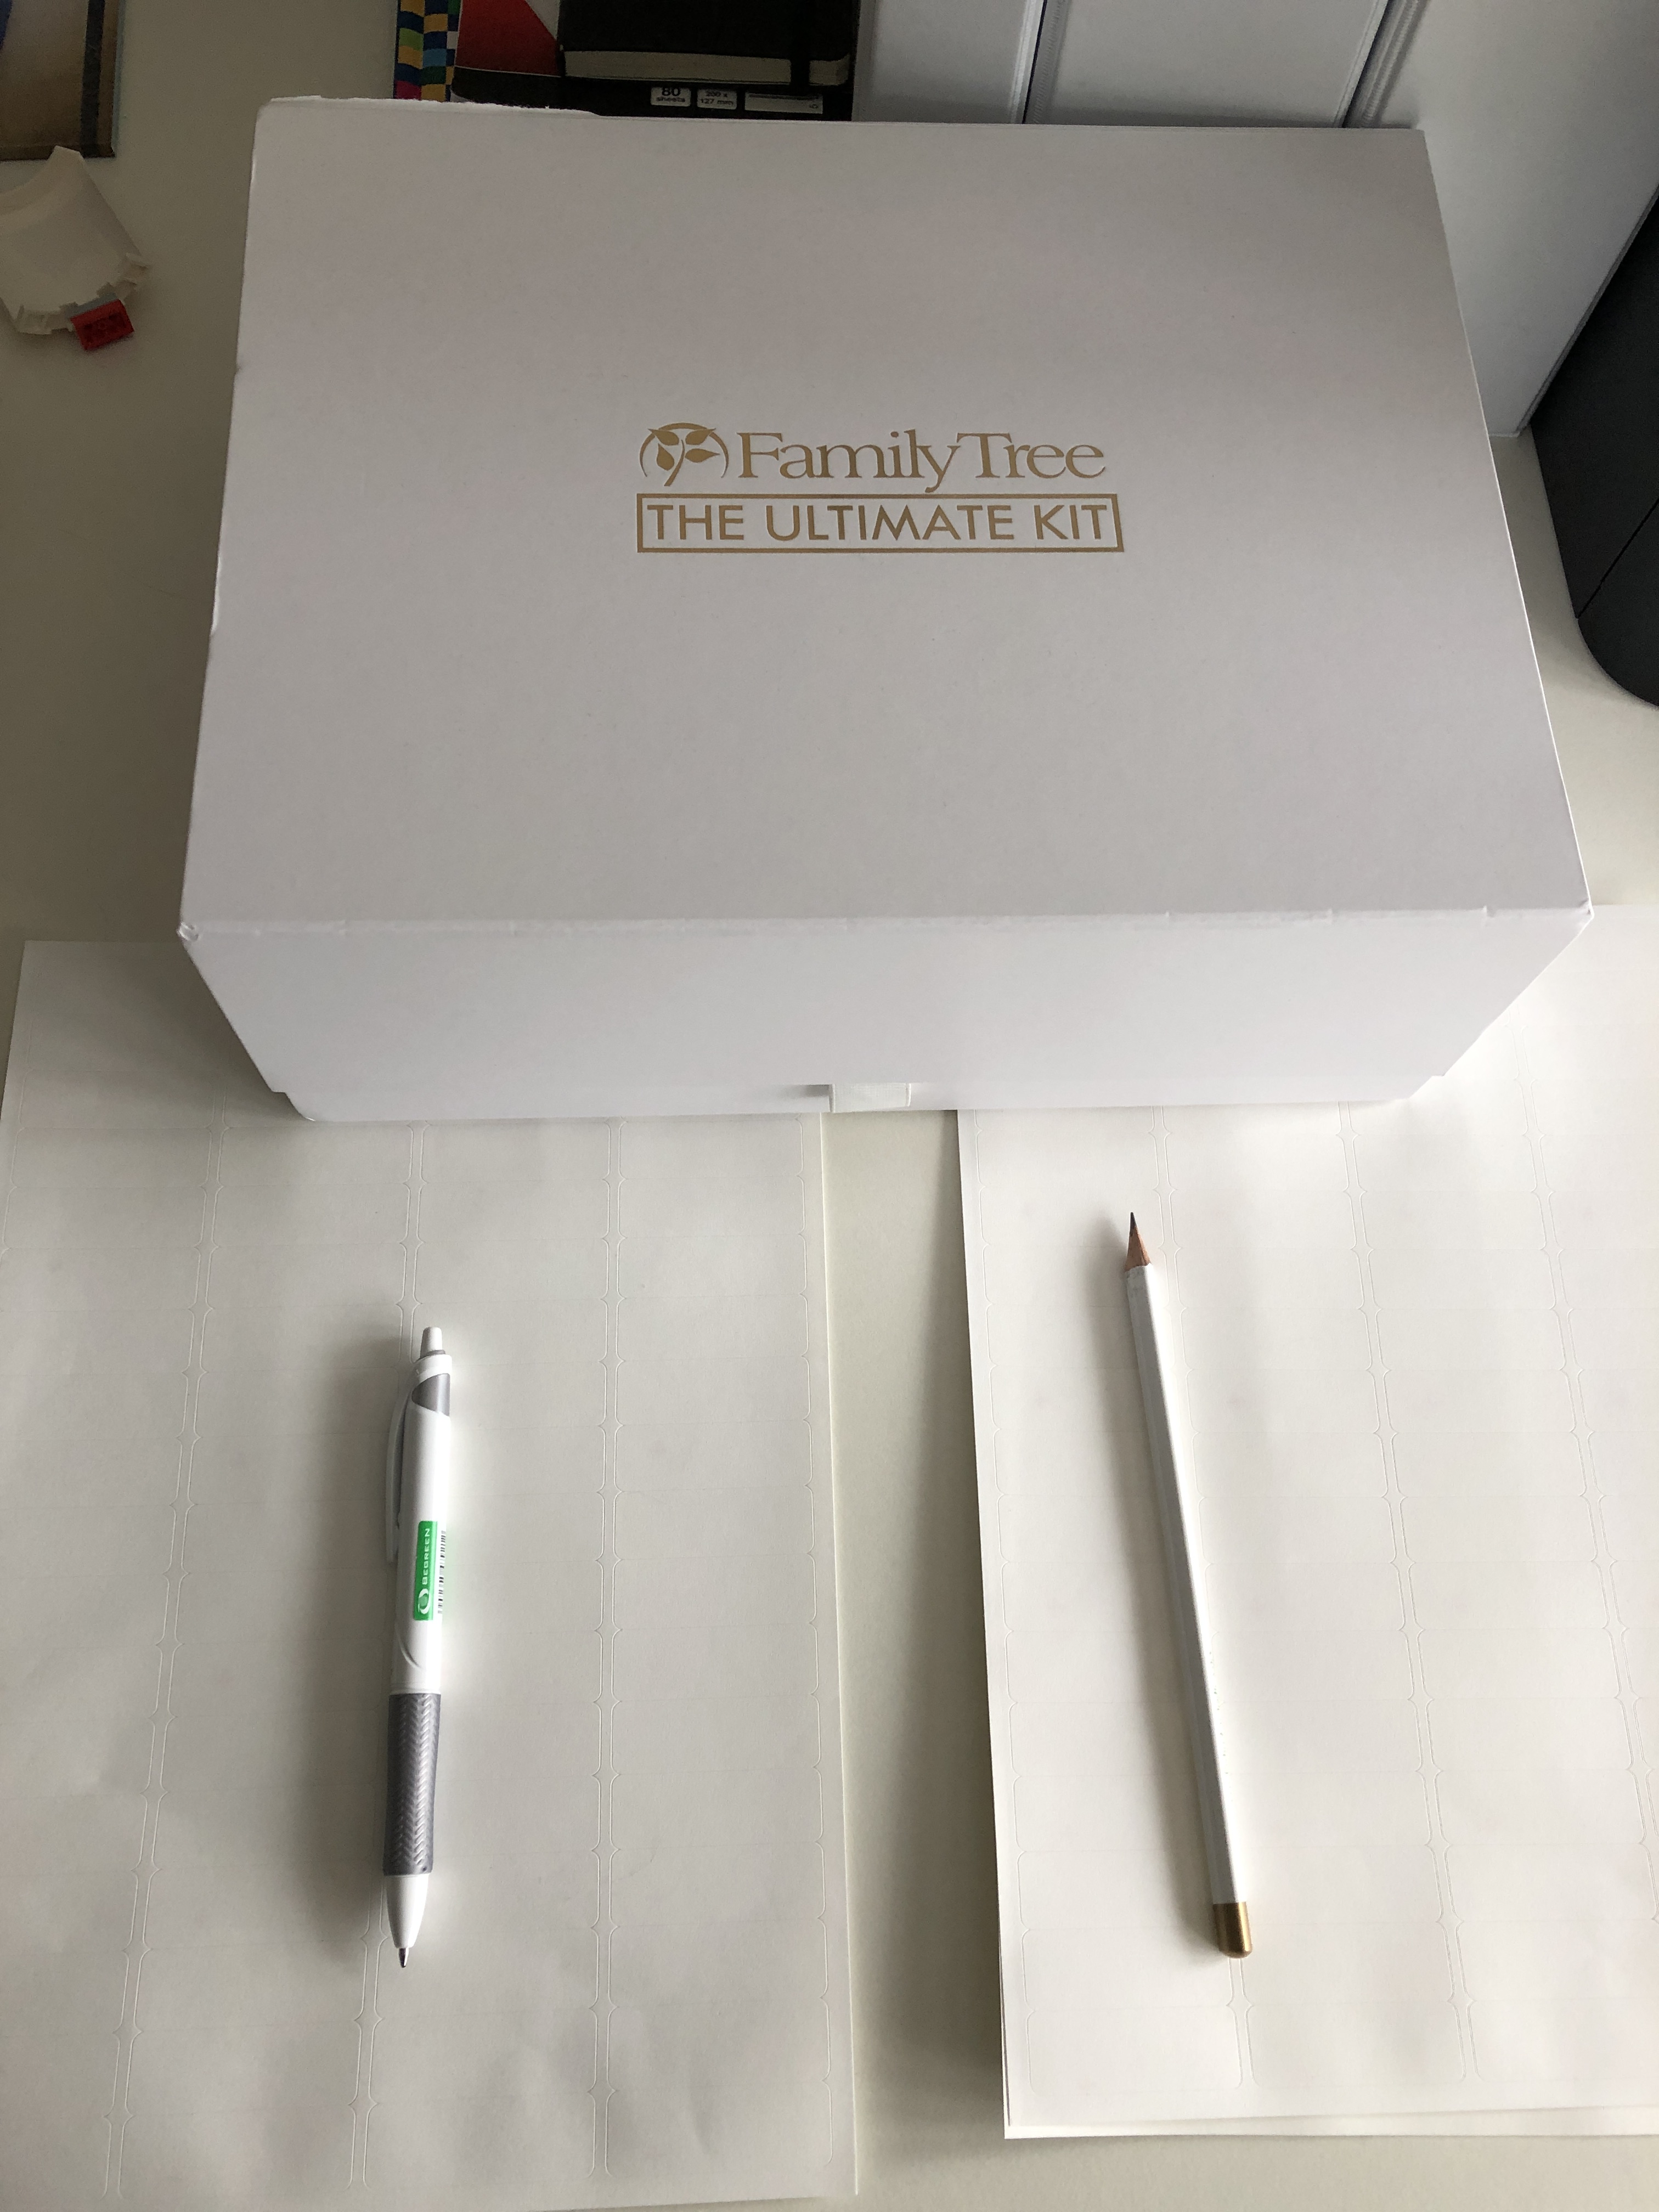
(Archival pen, pencil stickers)
Oh and did I mention Metadata yet? Watch out for Part 3 and an amazing piece of software called SnipTag!
So that’s it……………we’re ready to go with our first scan, all that excitement and anticipation and literally years of waiting, its time to place my first image on the glass!
I spend a lot of time researching and sharing these family connections, so if this post helped you uncover part of your family story, you can support my ongoing research here:

All My Blogs For Family Tree Magazine in one Handy Place

some great tips for organising
LikeLiked by 1 person
Thanks Karen, much appreciated
LikeLike
I love reading your posts about organizing – you have knack for making the work clear and, at the same time, fun to read and learn from..
LikeLike
Thank you so much for saying that Kay, I’m so pleased that you enjoy them and can follow them and just as important you find them fun!
LikeLiked by 1 person
I think I stressed over naming conventions and setups for 9 months or more! I’m so impressed by the way you’re getting down to business here.
I’ll share mine here, for comparison: [date] – [family name + Archive] [description] [If the photo has notes on the back: “w notes”] [dpi settings] [P / D / S = Photo / Document / Slide] – [5 digit unique ID number].
Example: A 1.5×2.2″ black and white photo print with a full date and notes on the back: 1922-05-22 – CYIP Archive birthday party w notes 1200 dpi – P00784.
After scanning the first few hundred, I found I wasn’t happy with my decisions re: DPI and changed them. That’s when I added the DPI to my naming conventions, and also the refinement re: Photo, Document, or Slide.
I hesitate to share links, but would be happy to if you would like.
LikeLike
Thank you so much for your feedback and I’m glad I’m not the only person who has stressed on the naming structure. I think that’s why so many online blogs avoid the subject to a certain degree because it’s not easy to solve. I’m hoping mine will stand the test of time, it’s only as you run into obstacles that you find the work rounds. I would really love to see your links, probably easier to see as well. If it’s easier, drop me an email to; chiddicks@yahoo.co.uk thanks again for your enthusiasm and for sharing
LikeLiked by 1 person
The most important lesson I gleaned from my years of scanning: take notes and don’t redo things. I’m looking forward to seeing your next post!
LikeLike
Thank you! I have received your email with the links which should keep me busy for a while! Thank you for sending them through
LikeLiked by 1 person
Great tips, Paul! I am in the middle of this same project currently so am definitely taking notes! I agree that finding a good naming system is one of the hardest parts.
LikeLike
Thanks Zoe, I hope you can follow it ok
LikeLiked by 1 person
Paul, this is an amazingly helpful and detailed post about how, exactly, to organize photos for scanning and archiving so you can find exactly what you want when you need it (and save everything for the future). Thanks so much for sharing your process!
LikeLike
Thank you Marian, I purposely tried to document every step that I’m taking, so that others following can fully understand (hopefully), the whole process that I went through
LikeLike
That is a very organized method…I’m going to have say that my photo albums are not quite organized at all. I do have books for each person in my household, but, then there is that one photo album that is the oh that’s where that pic went book. So, I’m glad you showed us how to do this. 😁
LikeLike
Thank you for saying that, but it’s taken me a long time to finally get round to doing this
LikeLiked by 1 person
Thank you! Extremely informative! I was just talking to my mom yesterday since she had another round of “who needs these family photos!” I already talked her into putting the photos she owns into these large sleeves with many pockets.
LikeLike
Its so important to put names on them if you can, the sooner you can do that the better, the digitising and cataloging can be done after
LikeLiked by 2 people